Lesson 2 Supplement: R Scripts
Writing Scripts to Store Your Work
So far, if you needed to repeat all of the work you have done in this class so far, you would be in serious trouble! If we can’t repeat what we did, then we certainly can’t call our work reproducible. One simple thing we can do is to write our code in a script.
My First R Script
To create a new script, go to “File” > “New File” > “R Script”. The keyboard shortcut for this is CTRL + Shift + N on Windows, and CMD + Shift + N on Mac. You should now have a window that looks like this, with a script pane in the top left quarter of the screen:
![]()
At the top of your script, you should include information about who wrote the script, when it was written, and why. Note that this information is a special form of code comment, and should be marked as such.
Exercises
- Create a new script to run some of the commands you learned last lesson. Add the meta-information at the top of your script. Notice that the colour of the file name changed from black to red.
- Add some of the code from that lesson (a few operations).
- Add comments explaining to yourself what these operations are doing.
- Save your script with a good name, and—if possible—today’s date in standard computer format. (Mac Users: make sure you add
.Rto the end of your file name.) Notice that your file name font colour changed from red back to black. Why?
This is what mine looks like:
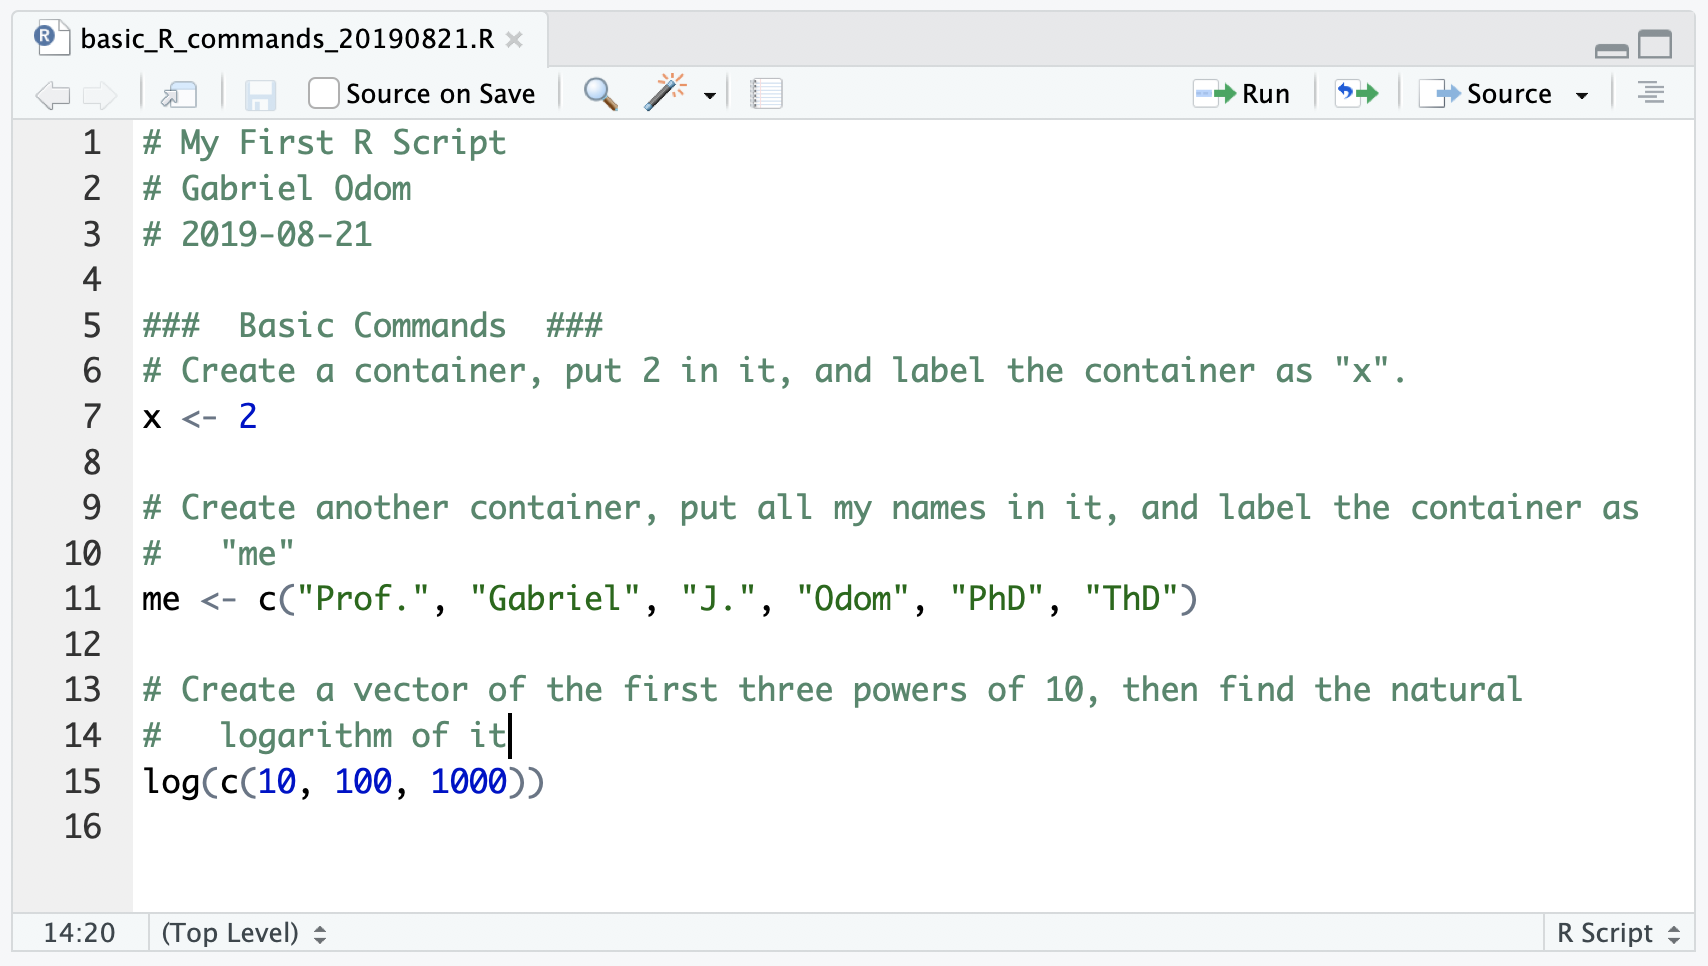
As you learn more about R, your comments should quickly become more about why you did what you did, rather than what you did.
Exercise
Read the Tidyverse Style Guide (https://style.tidyverse.org/).